
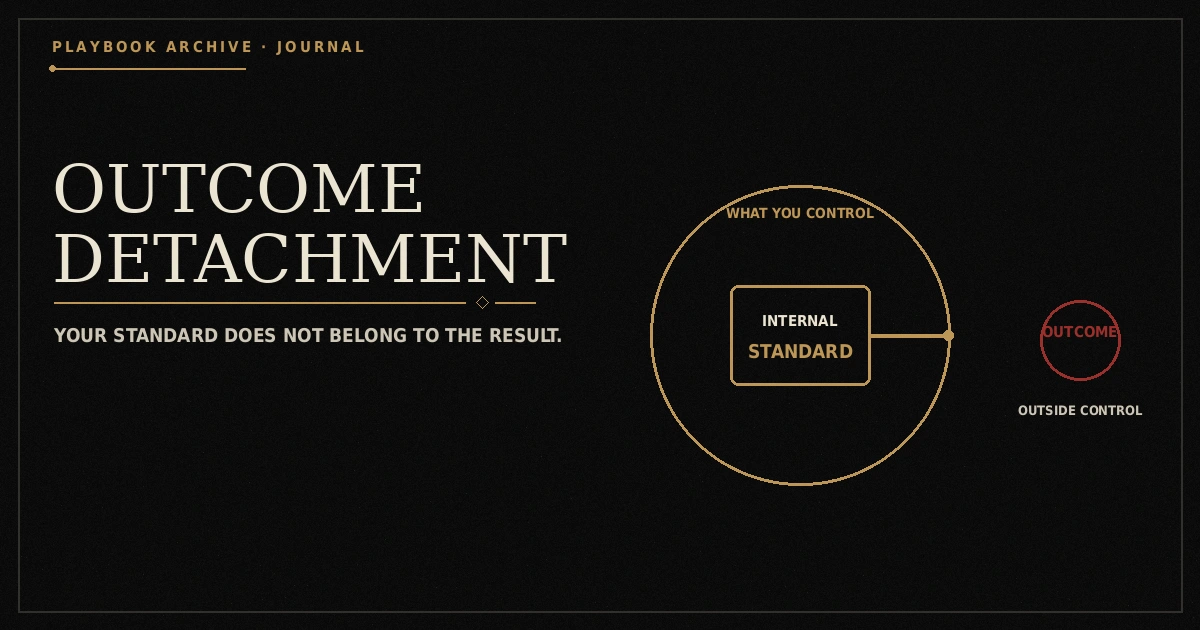
Outcome Detachment is the fifth RCM control variable: stability that doesn’t depend on how any single interaction resolves. It’s also the most frequently misunderstood variable in the model, because the name sounds like it’s describing indifference — and it isn’t.
What it isn’t
Outcome Detachment is not “not caring.” Not caring is a statement about the outcome’s actual importance — it genuinely doesn’t matter how this goes. Outcome Detachment is a statement about contingency: the outcome can matter a great deal, and a person’s stability, mood, and next action still don’t hinge on it going a specific way. Confusing the two leads to a common, unhelpful overcorrection — performing indifference, which is just a different reactive behavior wearing a calmer costume.
What it actually looks like
The clearest signal of weak Outcome Detachment is investment that tracks the other person’s signals in real time. Warmth from her produces a spike in enthusiasm and engagement; distance produces a matching drop. The level of investment is being set externally, moment to moment, by whatever’s coming back — which is precisely what Reactive State means.
Strong Outcome Detachment looks like investment that was set once, from an internal standard, and holds regardless of the read. A message gets sent because it was worth sending, not contingent on a particular reply. A date happens as planned, held to the same standard of effort whether it seems to be going well or not. The result still matters — it’s just not what’s setting the position.
Why this actually helps, rather than just feeling more composed
The RCM’s position isn’t that Outcome Detachment is a virtue in the abstract. It’s that behavior driven by an internal standard is more consistent, more legible, and less erratic than behavior that’s constantly recalibrating to signals — and consistency itself is part of what reads as stability to another person. Chasing a specific outcome produces visible chasing. Holding a standard regardless of outcome produces visible steadiness. The two states can look similar from a distance and are experienced completely differently up close.
A concrete way to build it
Set the level of engagement — how often to reach out, how much effort to put into plans, how available to be — as a decision made in advance, separate from any single interaction. Then, deliberately, don’t adjust it mid-interaction based on how it seems to be going. If it needs to change, change it later, as a new decision, not as a reflexive correction mid-stream. This is a direct, practical application of the Control Loop: trigger, pause, decision, position held — applied specifically to the question of how much to invest.
How it relates to the other variables
Outcome Detachment and Attention Control are the two variables behind Perceived Value Drop — attention that’s disproportionately absorbed, combined with investment that rises and falls with signals, is what produces that failure mode. They’re related but separable: it’s possible to hold steady investment (strong V5) while still checking too often (weak V1), or the reverse.
See the RCM page for the complete model, or the Control Scale to score V5 on its own against the other four variables.